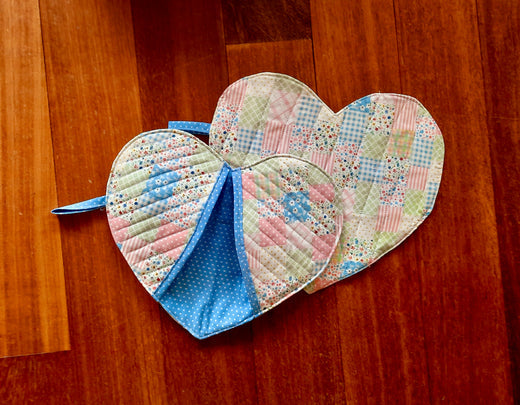
Welcome to my step-by-step tutorial on how to sew a beautiful clasp purse! Whether you're new to sewing or an experienced crafter, this guide will help you create a stylish and functional accessory. Follow along, and by the end of this post, you'll have a lovely handmade purse to show off.
Please Download the Pattern File

FREE PATTERN FILE
Materials Needed:
Step 1: Cut Your Fabric
- Download the Pattern:Download the free pattern from the link.
-
Cut the Fabric:Cut two pieces of your outer fabric and two pieces of your lining fabric according to the pattern. Also, cut two pieces of interfacing.

Step 2: Prepare the Interfacing
- Attach Interfacing: Iron the interfacing onto the wrong side of your outer fabric pieces to give the purse structure and stability.
- Optional Step: If you prefer, you can sew along the edges of the interfacing to secure it further.
More Coin Pouch Projects

Video Tutorial of Card Wallet
and
Click for Pattern
Step 3: Sew the Front and Side Parts
- Outer Fabric:Place the outer fabric pieces right sides together. Pin or clip the edges.
- Lining Fabric:Place the lining fabric pieces right sides together. Pin or clip the edges.
- Sew Along the Interface:Sew the interfaced edges of both the outer and lining fabrics.
- Press Seams: Open up the seams and press them flat for a neat finish.

Step 4: Sew the Sewn Parts
- Outer Fabric:Place the sewn outer fabric pieces together, right sides facing each other. Pin or clip the edges to hold them in place.
- Lining Fabric:Place the sewn lining fabric pieces together, right sides facing each other. Pin or clip the edges to hold them in place.
- Sew the interfaced edges of both the outer and lining fabrics. This step will help create a sturdy structure for your purse.
- Ensure that all pieces are aligned correctly before sewing to maintain the shape
- Press Seams: Open up the seams and press them flat for a neat finish.

Step 5: Assemble the Purse
- Combine Layers:Turn the outer fabric right side out and place it inside the lining fabric (which should still be wrong side out). This way, the right sides of both fabrics are facing each other.
- Pin and Sew:Align the top edges and pin or clip them together. Sew around the top edge, leaving a small gap for turning the purse right side out.

Step 6: Turn and Finish
- Turn Right Side Out:Carefully pull the outer fabric through the gap in the lining to turn the purse right side out.
- Close Gap: Hand-stitch or machine-stitch the gap in the lining closed.
- Press Edges: Press the top edge of the purse to prepare it for attaching the clasp.

Step 7: Attach the Clasp Frame
- Positioning: Insert the top edge of the purse into the clasp frame. Make sure it is centered and even on both sides.
- Securing: Depending on your clasp, you might need to sew it in place. Use strong thread and a needle to hand-sew the fabric to the clasp frame. Alternatively, you can use fabric glue to secure it, but sewing is generally more durable.

Step 7: Finishing Touches
- Reinforcement: For added strength, you can sew a few extra stitches at the corners where the clasp frame meets the fabric.
- Final Press: Give your purse a final press to ensure all seams are neat and the fabric lies flat.
Congratulations! You've just created a beautiful clasp purse. Whether it's for personal use or a thoughtful handmade gift, this purse is sure to impress.
I can't wait to see your beautiful creations! Share your finished projects on Instagram and tag me @emelshandicraft—I love seeing how you bring these patterns to life. For even more sewing inspiration, tips, and tutorials, make sure to follow my YouTube channel. Join our creative community, and let’s inspire each other! Looking forward to seeing your masterpieces!
Happy sewing!
Feel free to ask any questions or share your creations in the comments below. And, if you enjoyed this tutorial, make sure to subscribe to our blog for more exciting DIY projects and sewing tips!
Video Tutorial


